
JUN 23.18 Storage shelves built from scratch
Total Project cost: $200
We needed a storage shelf for our basement, so we built it. We recently moved into an absolutely beautiful new (old) home that needs A LOT of work done to it, so my sister and I had to get handy or get stuck with a space finished in mediocrity.
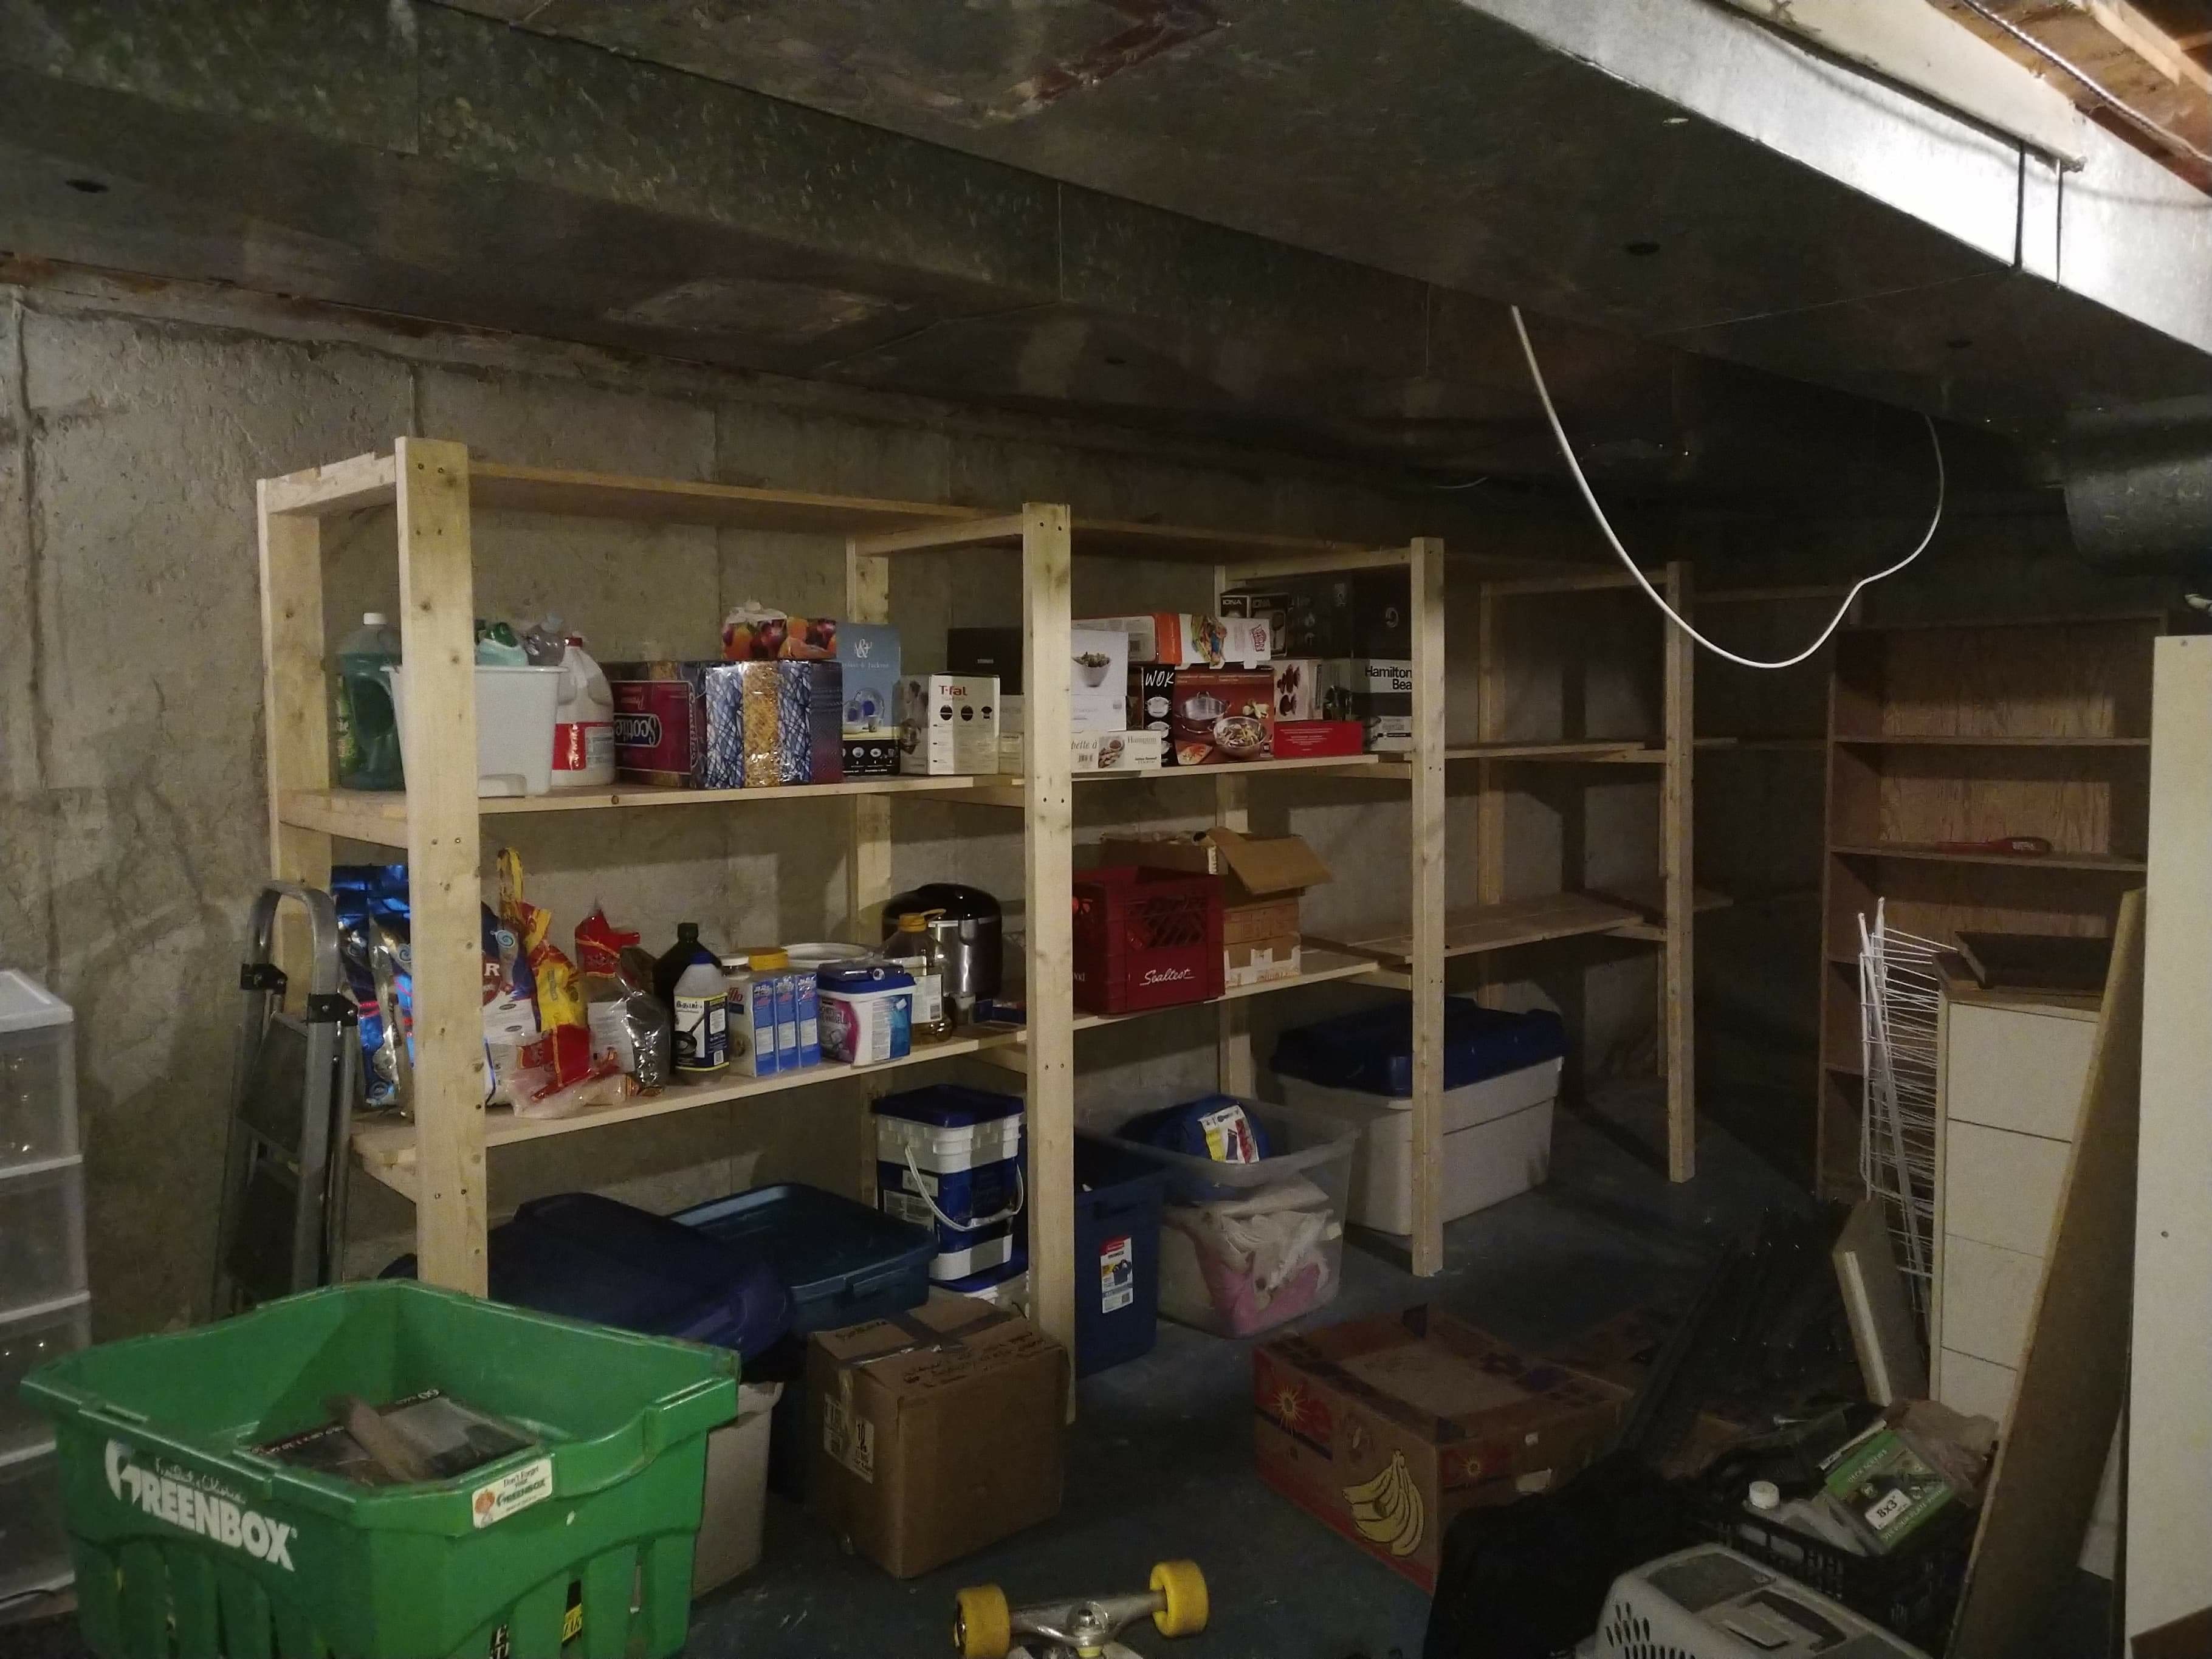
Please forgive the trash quality of this image coming from a professional photographer, but when it's 10pm and sleep time iPhones are the best picture makers XD
We got the plans from Ana White's website. She is the absolute goddess of woodworking and she has projects for all levels of expertise. My sister and I had never used a drill for anything other than putting IKEA furniture together before let alone done woodworking (unless you count gluing jinxwood together to make a bird feeder with a hot glue gun for grade 8 design tech classes). We modified her plan a little to suit our basement dimensions and needs, but here is a quick overview of the materials we used.
We had to find out the hard way that it's really important to make sure your planks are as straight as possible and not wildly bowed. (Watch out for cracks and splinters in the wood as well!!) We had to use two different sizes of planks for the shelves since we didn't grab the right planks the first time round (we grabbed the wrong ones because the wrong ones happend to be on sale XD) so we had to buy the 1x4 planks to fill the extra space. We made sure that there was a small gap between the planks laid flat across for the shelves. We didn't need them to fit snug together because we weren't putting anything small on the shelf that would slip through the gaps, it also saved us from buying larger wood.
In Ana White's plan she makes the entire shelf from 2x4's but we bought thinner and wider pine planks for the shelves to save on cost and reduce the weight of the overall shelf. We just used two types of screws to put the shelf together:
When we asked for self-tapping screws at Home Depot they looked at us like we were crazy and told us that those are just regular construction screws (whatever they were, they worked).
Basic steps
[Here's a link to the original plans]
Though we spent about two hours at Home Depot wandering around like headless chickens. Thanks to the help of their staff and this kind gentleman that happened to be shopping around and happened to have a truck that he SAVED us with we finally got-er done! (Yea basically this guy was shopping at HD, saw us struggling with planks of wood at least three feet taller than us, asked us how we were taking them home, and immediately proceeded to help us load the planks into his truck when we proudly told him we were going to fit hundreds of pounds of wood into our Honda Civic. Bless him.)
If anyone tries this project at home let me know how it goes!!!
Special Thanks to: Some guys that helped screw some screws and put the shelf up, HD employee that brought down a ton of wood for us, and the truck driver XD
xoxo Aarthi